Cracking the Code on Liquid Measuring Cups
Ever stared at a recipe and wondered if using that old coffee mug for measuring your milk would work? Let’s chat about how liquid measuring cups help keep your cooking game strong, and explore the choice between glass and plastic ones.
Why Measuring Right Matters
Getting your liquids right is the secret sauce to nailing those fantastic cakes or delicious gravies. Whether you’re whisking up a tangy sauce, aiming for a cloud-like cake, or concocting that irresistible marinade, the magic lies in the exact amount of liquids you pour. If you skip the correct amount, your dish’s flavor and texture might take an unexpected turn, like overcooked pasta—nobody wants that.
Glass vs. Plastic: The Measuring Cup Face-Off
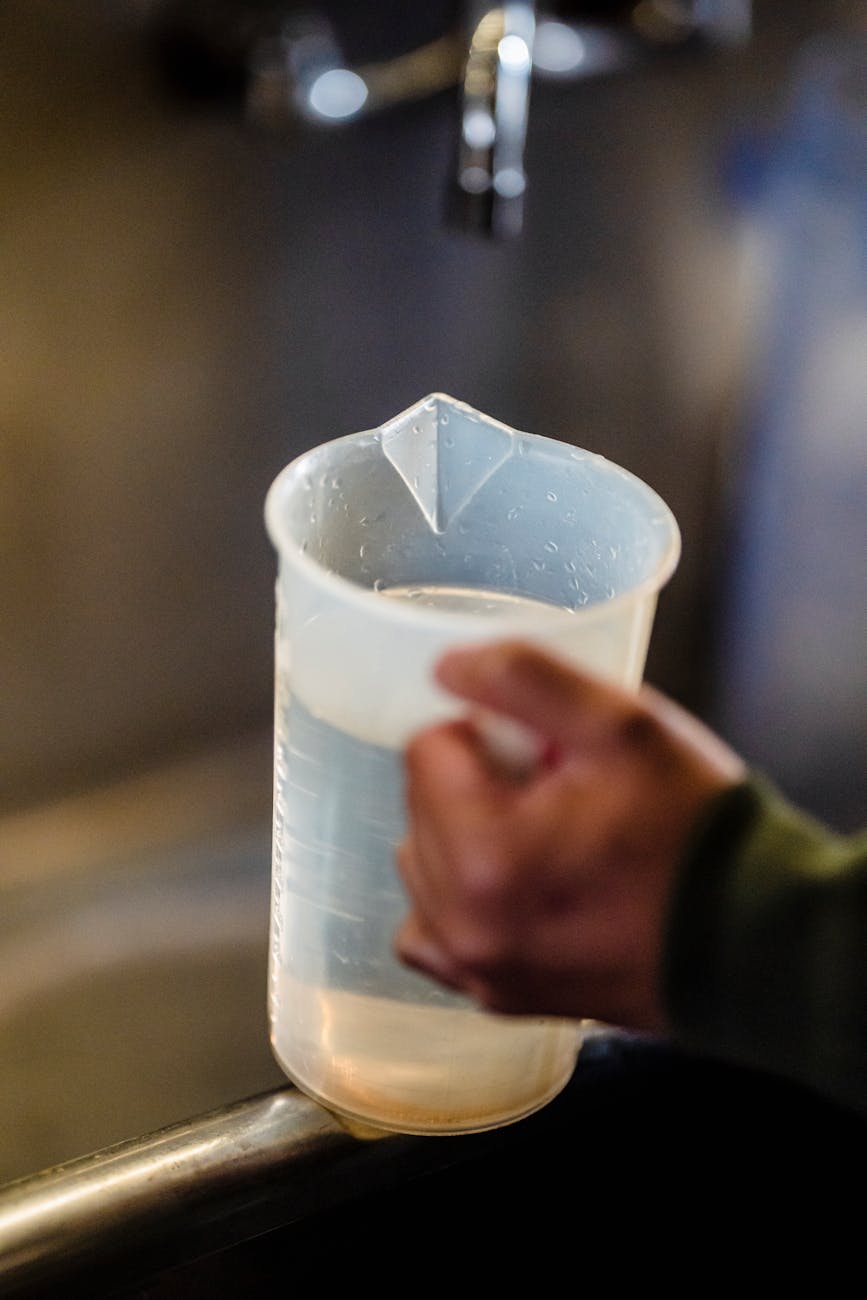
Measuring cups designed for liquids are like your trusty sidekick in the kitchen. The big debate is often glass or plastic, and each type has its fans based on what it’s best at.
| Type | What’s Cool About It |
|---|---|
| Glass Measuring Cup | – See-through, so you can easily read those markings – Stands up to hot stuff without flinching, perfect for melted butter or hot broth – Built to last like a good kitchen tale |
| Plastic Measuring Cup | – Featherlight and a breeze to handle – Won’t break the bank, usually cheaper – Comes in all sorts of sizes for a variety of cooking needs |
There’s a reason chefs love glass cups. They can handle heat—just the thing for steaming broths or sweet molten chocolate. Meanwhile, plastic cups win points for being lightweights and perfect for day-to-day whisking and pouring. And they come in all the right sizes, so no need to guess and check with every pour.
Grasping why these measurements matter and getting cozy with your cup options sets the stage for culinary success. Keep your apron on and your eyes peeled for more on how to ace those baking measurements and dry measuring cups.
Understanding Liquid Measurements
Alright, folks, let’s chat about why getting liquid measurements right in the kitchen is like not overcooking spaghetti—super crucial. So, when you’re trying to figure out this whole fluid ounces (fl oz) versus milliliters (ml) situation, rest assured, we’re diving in headfirst without a life jacket. This not only saves your recipes but might just save your sanity in the process.
Differences between Fluid Ounces and Milliliters
Fluid Ounces:
Here in the good ol’ U.S. of A and a few other places, we love our fluid ounces. Imagine this: One fluid ounce is like a small shot glass holding about 29.57 milliliters of goodness. But because geography is funny, remember that fluid ounces can play tricks depending on your location. Always keep your conversion goggles handy.
Milliliters:
Then we have milliliters. Most of the planet loves these metric system guys. We’re talking about precision here, people. One milliliter is this tiny dot of liquid, about 0.033814 fluid ounces. If you’re tackling international recipes or channeling your inner professional chef, milliliters are your trusty sidekick.
Need to swap between ounces and milliliters quickly, like a superhero folding laundry? Check out this handy table:
| Fluid Ounces | Milliliters |
|---|---|
| 1 fl oz | 29.57 ml |
| 2 fl oz | 59.15 ml |
| 4 fl oz | 118.29 ml |
| 8 fl oz | 236.58 ml |
| 16 fl oz | 473.17 ml |
| 32 fl oz | 946.35 ml |
Converting Between Different Units
Switching from fluid ounces to milliliters is like dancing the cha-cha once you know the steps. To jump from fl oz to ml, multiply by 29.57. Heading the other way? Just divide by 29.57—easy peasy.
For those moments when you need to whip out a conversion like a magician with a rabbit, keep this table in your back pocket:
| To Jump from Fluid Ounces to Milliliters: | To Leap from Milliliters to Fluid Ounces: |
|---|---|
| Multiply by 29.57 | Divide by 29.57 |
When you get the scoop between fluid ounces and milliliters, you’ll breeze through recipes like a pro. Mastering these conversions means you can take on any cooking or baking challenge that needs precise measurements with the confidence of a kitchen ninja.
Proper Techniques for Measuring Liquids
Nailing the perfect cake or sauce isn’t just about grandma’s secret recipe—getting the liquid measurements spot on is where the magic really happens. So, what’s the secret sauce? It’s all about leveling up your measuring game with some nifty techniques: eye-level reading and using a flat surface.
Eye-Level Reading
You know how that little bubble line in the glass of water looks different from up here and down there? That’s your nemesis—the meniscus. The trick to getting it right is to squat down to eye level with your measuring cup. It sounds silly, but trust us, it’s gonna save your pancakes from being too fluffy or too flat. Peer straight at that liquid line for perfection every time, whether you’re measuring water, milk, or oil.
Using a Flat Surface
Here’s one more nugget of wisdom: keep it steady! Perch your measuring cup on a flat, stable surface, like your trusty countertop. No balancing acts or juggling acts here! This helps sidestep any wonky measurements caused by accidental tilting. You’ll find this gives you more confidence pouring out those liquids.
Mastering these simple, yet effective techniques turns your kitchen into a well-oiled machine, letting you whip up tasty delights without sweating the small stuff. Don’t stop here—check out our other tips on getting your flour scoops right with dry measuring cups or learning the ropes of cup measurements in baking.
Tips and Tricks for Precise Measurements
Measuring liquids can be a bit tricky, but fear not, we’ve got some nifty tips that’ll have your recipes coming out just right. Let’s chat about a couple important skills: dodging those pesky bubbles and nailing your pouring game.
Avoiding Air Bubbles
Air bubbles might seem innocent enough, but they can mess with your measurements. Here’s how to keep those critters at bay:
- Go Slow: When you’re pouring, think of it like any slow dance—easy does it. A gentle pour keeps the splashy chaos and air bubbles to a minimum.
- Tap, Don’t Whack: Give the measuring cup a gentle tap on the counter. This little jiggle coaxes the bubbles out of hiding.
- Wait and Watch: Especially with something like oil, give it a second. Let it settle, calm down, and then check your measurement.
A little patience here means your cookies (or whatever you’re whipping up) will be their best selves.
Pouring Techniques
If you’ve ever had to squeegee spilled milk off the counter, you know how important pouring can be. Here’s how to keep it clean and exact:
- Get Down on Its Level: Lean in, eyeball those tiny numbers straight on. This avoids any funny business with angles.
- Slow and Steady: A smooth, steady pour means no waterfalls sneaking out of your cup.
- Check In: When you’re measuring lots of liquid, pause and give it a look-see before pouring on. It’s like a pit-stop to double-check you’re not overdoing it.
Getting these pouring skills down is like having a trusty foundation for all your kitchen escapades.
These little tricks help make kitchen work a breeze. With practice, you’ll trust your measurements, and the dishes coming out of your oven will make you proud. So go on, pour like a pro, cook up a storm—and maybe sneak a taste for quality control!
Cleaning and Maintenance
Got a favorite liquid measuring cup? Making sure it’s well-looked-after is the secret sauce for spot-on measurements in your kitchen masterpieces. Here, we’re dishing out some simple yet savvy steps to keep your trusty cup in top shape, ensuring it lasts long and measures accurately.
Hand-Washing vs. Dishwasher
Cleaning your measuring cup can be a bit of a toss-up between hand-washing and popping it into the dishwasher. Mostly, hand-washing is your best bet to keep your cup’s markings sharp and cup intact.
| Cleaning Method | Pros | Cons |
|---|---|---|
| Hand-Washing | – Gentle on the cup, keeping markings sound – Less chance of scratches and damage |
– Takes a little more time and elbow grease – Difficult to achieve sanitizing heat levels |
| Dishwasher | – Quick and super easy – Hot water for sanitation built-in |
– Risks fading markings over time – Can rough up the cup with all the swishing around |
For hand-washing, just grab some mild dish soap and a soft sponge, and you’re good to go. Make sure to give those measurement numbers some extra attention to keep them nice and legible. Steer clear of harsh scrubbers and strong chemicals that might harm your cup’s finish.
If you opt for the dishwasher, place it on the top rack to dodge any heat and pressure drama. Just know that lots of trips in the dishwasher could mean faded markings down the line. Give them a spot check now and then, and maybe go old-school with hand-washing if things start looking vague.
Storing Properly
Storing your measuring cup the right way is like keeping your shoes in a box—it just makes sense! After a good wash and rinse, let it dry completely before you put it away. Find a dry and handy spot in your kitchen, avoiding pressure from stacking other heavy stuff on it (nobody likes a squished cup).
If your cup’s got a handle, stand it up straight so it doesn’t bear any weight that might make it go bendy or snap. Also, keep it away from heat sources like ovens or stoves to avoid any material warping surprises.
Sticking to these no-nonsense cleaning and upkeep rules helps guarantee that your liquid measuring cup stays a trusty sidekick for all your tasty adventures. A well-kept cup is a boon in the kitchen, aiding you in whipping up consistently delicious goodies every time.
Common Mistakes to Avoid
Using a liquid measuring cup might seem straightforward, but little hiccups can throw your recipes outta whack. Let’s chat about two big blunders: the curse of overfilling and the sneaky impact of temperature.
Overfilling the Cup
Ever think you’ve nailed it, only to end up with a soupy mess? Overfilling is often the culprit. Pouring too much throws off the whole vibe of your dish, shifting its texture and flavor into uncharted territories. Imagine dumping water into your cake mix like it’s Niagara Falls — not ideal, right?
To keep things chill, aim for those lines like a dart at a bullseye. Slow and steady fills the cup, as Mom always said. Better to inch up and tweak than do the full-force pour. Nail that consistency, and your food will thank you.
Ignoring Temperature Effects
Temperature’s like the sneaky sidekick you didn’t expect. It messes with liquid volume — hot or cold, they both like to play tricks. Think of oils or syrups having a secret sauna session, altering measurements along the way.
When you’re gearing up to measure, aim for room temp liquids to keep everything fair and square. If you’ve got a hot or chilled liquid, let it cool its jets before fine-tuning into your cup. This easy trick keeps your dishes in check, saving you from wild adventures in texture and taste.
Dodge these slip-ups, and your measuring game is bound to level up. Precision builds the backbone of kitchen success — we all want to eat world-class food, right? To dive deeper or snag more tips about using dry measuring cups or perfecting cup measurements in baking, you know where to find us!

